
There are so many tools out there that you can use to help you with your site's SEO. But this tutorial is all about how to install and configure the Yoast SEO plugin which happens to be my favorite SEO tool.
Even though Yoast has a premium version, some of the most important features are free, so you don’t need to pay for the premium version.
Note! Only self-hosted WordPress users can use Yoast SEO. If you’re using the free version of WordPress, be mindful of the fact that you won’t be able to use Yoast. Now let's look at how to install Yoast, configure it, and link it to Google Search Console
How to Install Yoast SEO Plugin
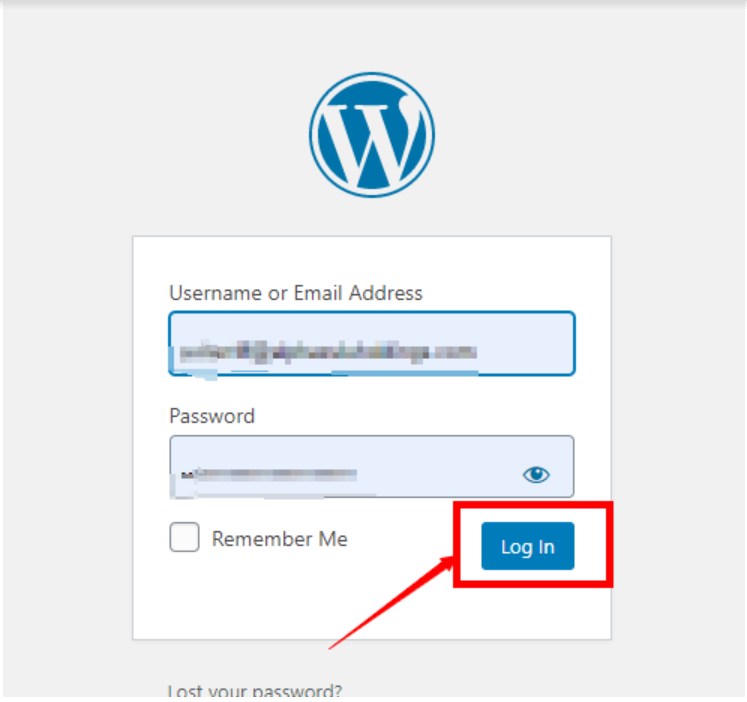
To be able to install the plugin, you need to be logged in to your WordPress dashboard
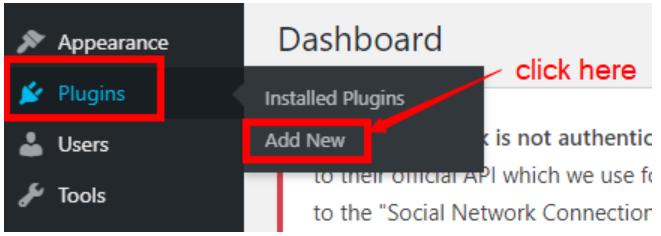
Once in the dashboard. Go to ‘’Plugins’’ and click on ‘’Add new’’.
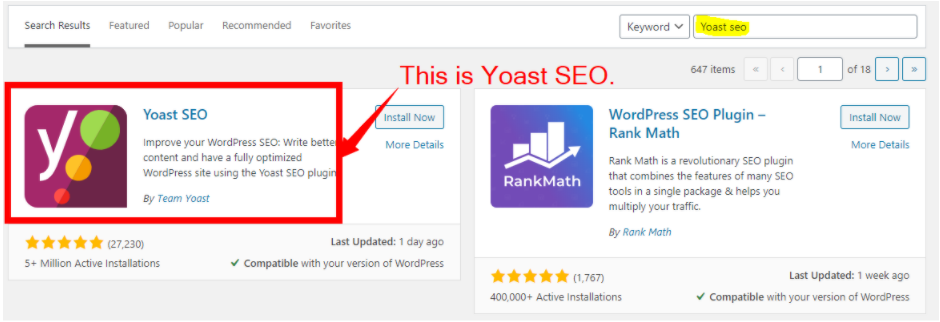
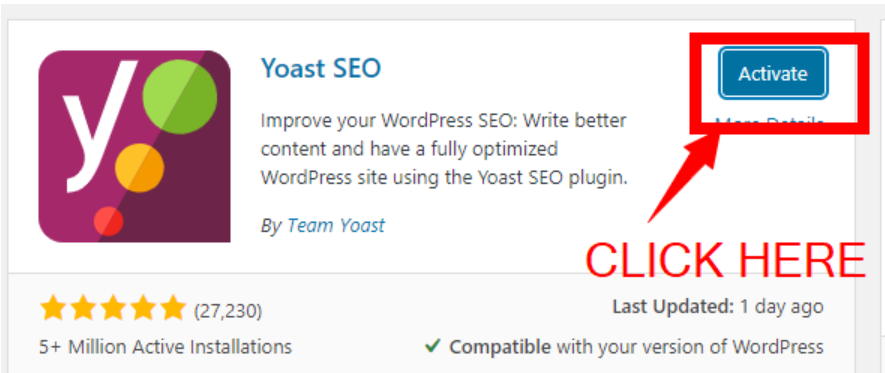
Once on the plugins menu. Enter ‘’Yoast SEO’’ in the search bar and click enter on your keyboard. You will see the ‘’Yoast SEO plugin’’.
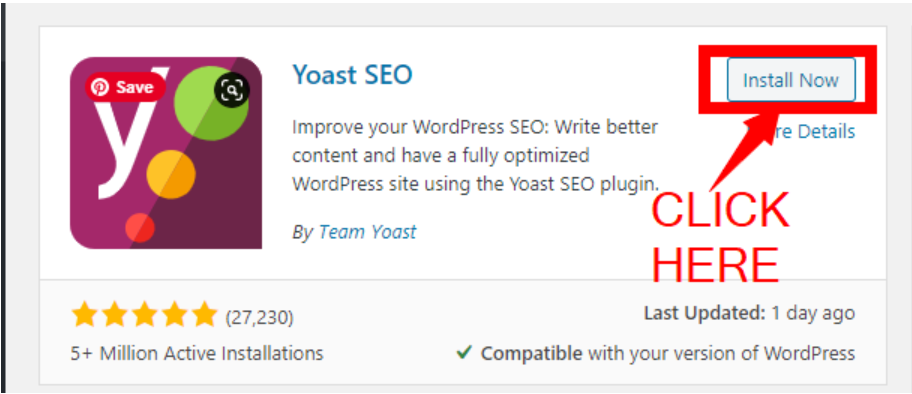
Next, click on ‘’Install Now’’ and after that click on ‘’activate’’.
Congratulations you've successfully installed the Yoast plugin once it is activated. Now we move on to configuring the plugin to work.
How to configure the installed Yoast SEO plugin
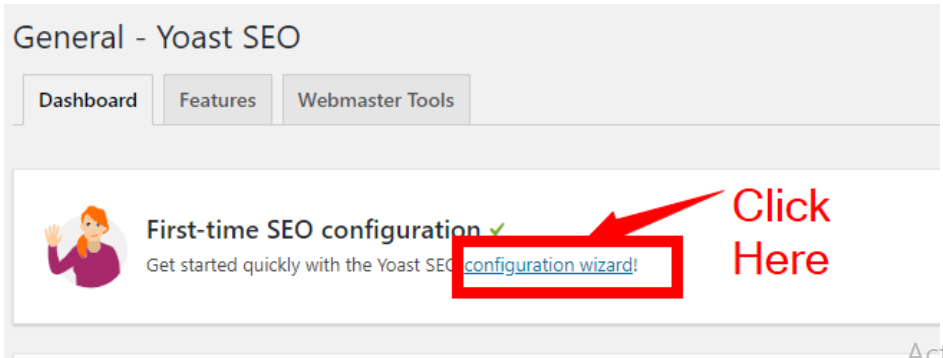
On your WordPress dashboard, you will see a new tab called ‘’SEO’’. Click on it. You will be redirected to the Yoast SEO dashboard. Then click on the configuration wizard to set the Yoast SEO plugin up.
The following steps will help you configure Yoast properly
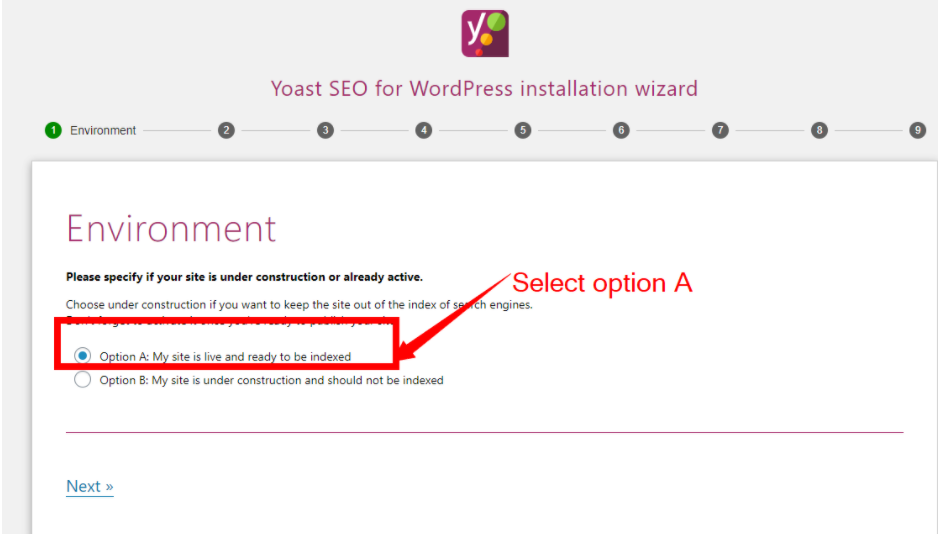
Step 1: Selecting the status of your website
Choose the current status of your website if it's under construction or active. Make sure you select option A and click next.
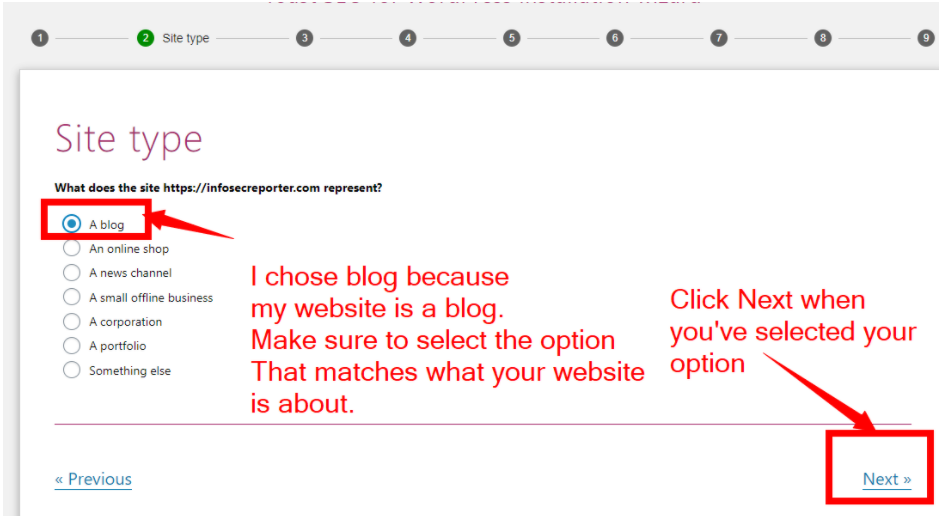
Step 2: Select your website type
In this step, you choose if your website is a blog or an online shop. Choose the option that best matches your website and click next.
Step 3: Choose your company type
This step requires you to choose if you’re an organization or person. You need to add your company name, company logo, and all your social media handles. This step is really easy so i’m not going to show you any screenshots. Before we talk about step four of the configuration process. There are some important things you need to know before using Yoast SEO.
- Don’t obsess over green lights - A friend of mine told me about her friend who didn’t eat for one day because he was trying to figure out how to make the readability analysis light to turn green - Don’t do it.
- I think the readability analysis tool is useless.
- Yoast’s focus keywords analysis tool is great but it can make you over-optimize your content with keywords - which is considered spammy.
Step 4: Specify your content type
In this step, you need to specify what content types you need to appear for on the search engines. Make sure to select pages and posts because those are the most important pages you want to show on the SERPs. And then according to your theme, select other options you would want to let the search engines index.
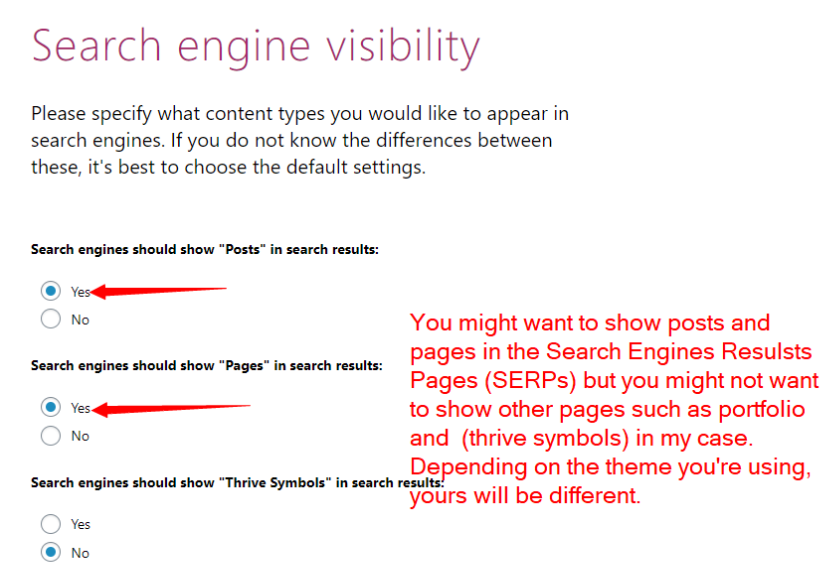
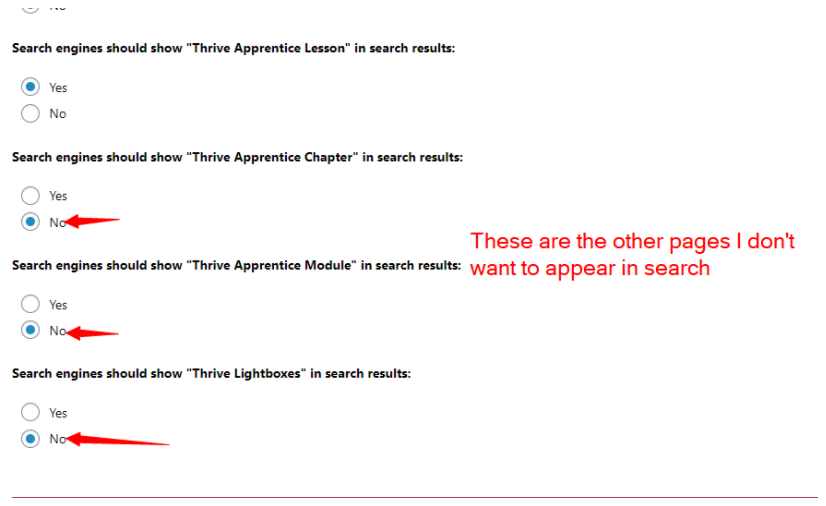
As I said, the settings will be different for you if you’re not using the thrive themes.
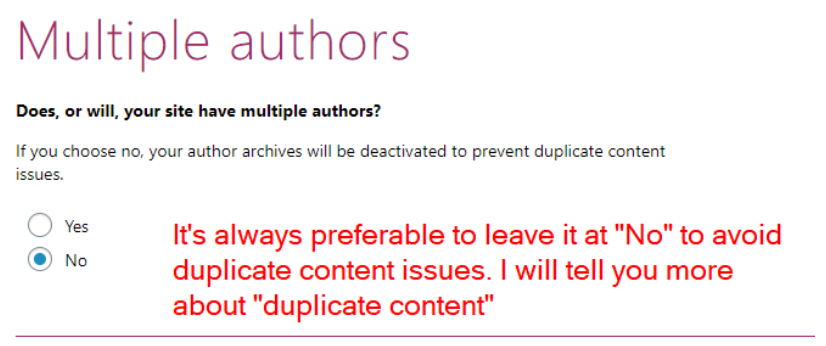
Step 5: Multiple Authors
you need to choose whether you have multiple authors or not… It’s always preferable to leave it at ‘’No’’ even if you have multiple authors.
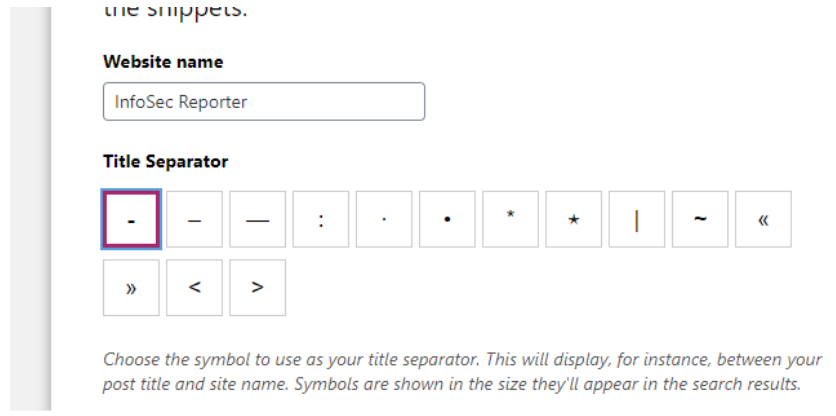
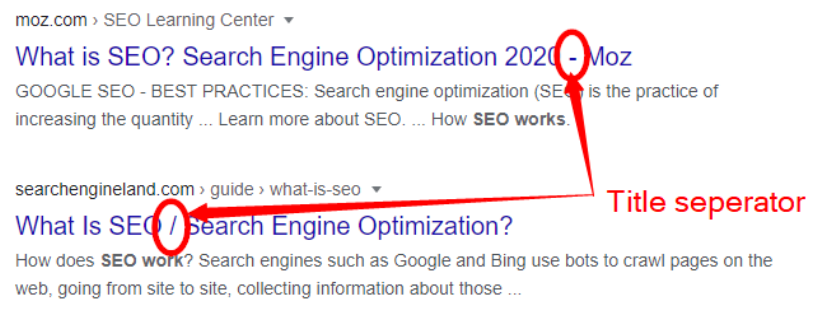
Step 6: Title separator type
In this step, you need to choose the title separator. I selected the dash…
Step 7: Allow Yoast track your site data or not (Optional Step)
This step is not very necessary, but if you must, you can choose to let Yoast either track your site data or not.
Step 8: You can skip step 8.
By the time you reach step 9 Congratulations, you have successfully configured the plugin. You can click to watch the video or close the wizard.